Hardware
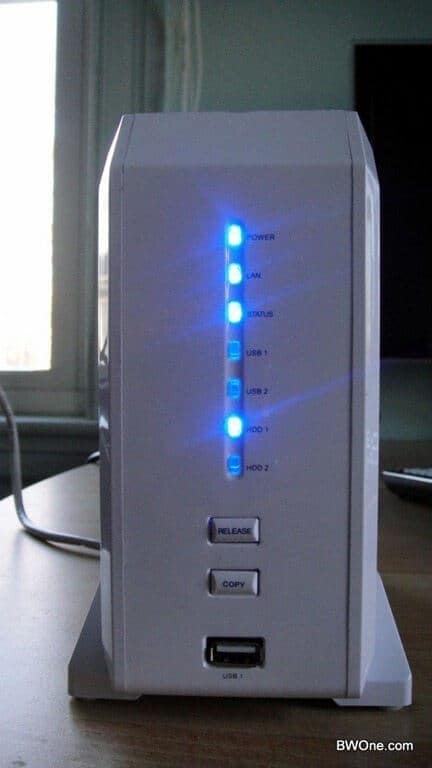
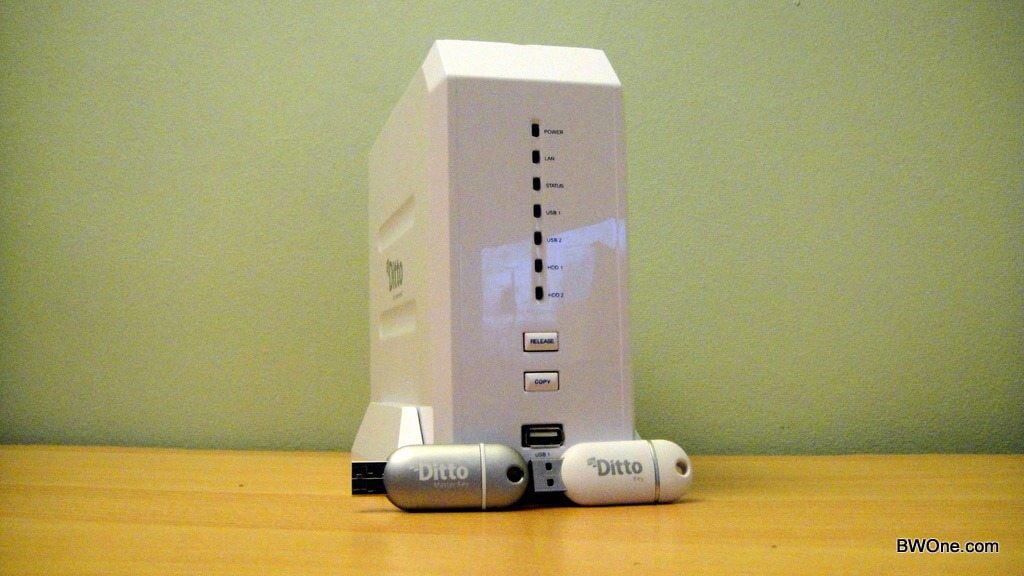
The myDitto comes in an all plastic case which reminds me of the the Wii the way it looks. Its surprising lighter than I though it would have been and doesn’t feel cheap. The device feel very solid and sturdy. On the front are all your LED indications and a copy button that will allow you to directly plug in a USB hard drive and copy the content onto the myDitto. On the back is where you will find the gigabit network port, power switch and the two drive bays that you can swap out your drives when needed. They slide out and in safely and securely. Great hardware build from Dane Elect here.

Usage
To use the myDitto is very simple. You will need to just plug in one of the two USB keys that are given to you. You’ll want to start off with the administrator key so you can full access. When you plug it in you will see the executable for the myDitto application and all you need to do is click on it to open it. You’ll need to setup and type in a password to for a secure login. Once in your introduced to an interface which is very similar to windows explore and you drag your content from one side to the the other. You can also setup folders, security and permission in this interface. Very easy to use software for both the novice and advanced user.
Overall
The myDitto is a very simple and safe way to setup a NAS on your network and access your files from anywhere. With a simple interface and a plug and play design I would definitely recommend the myDitto to anyone looking for a drop in network storage solution.


Comments