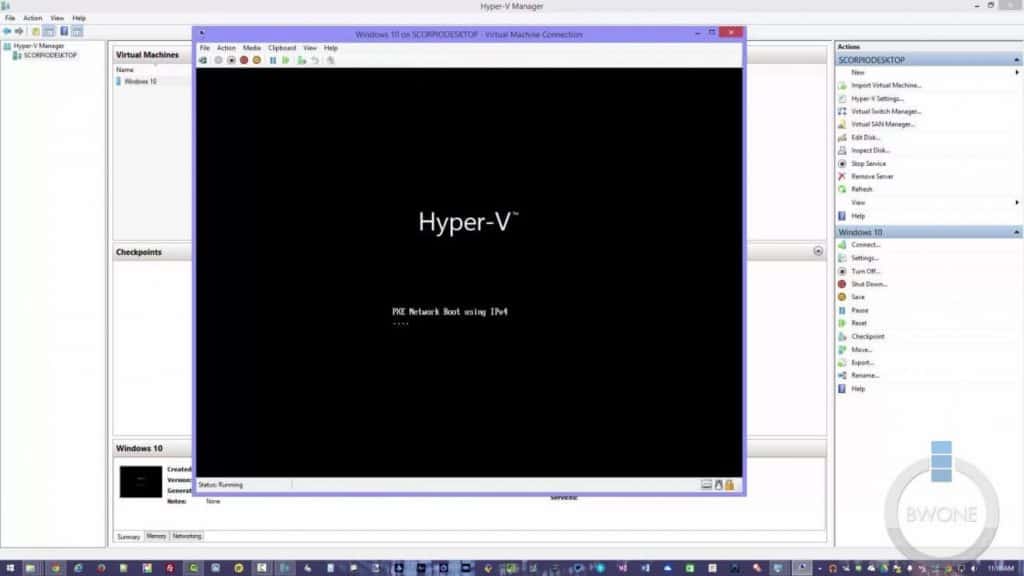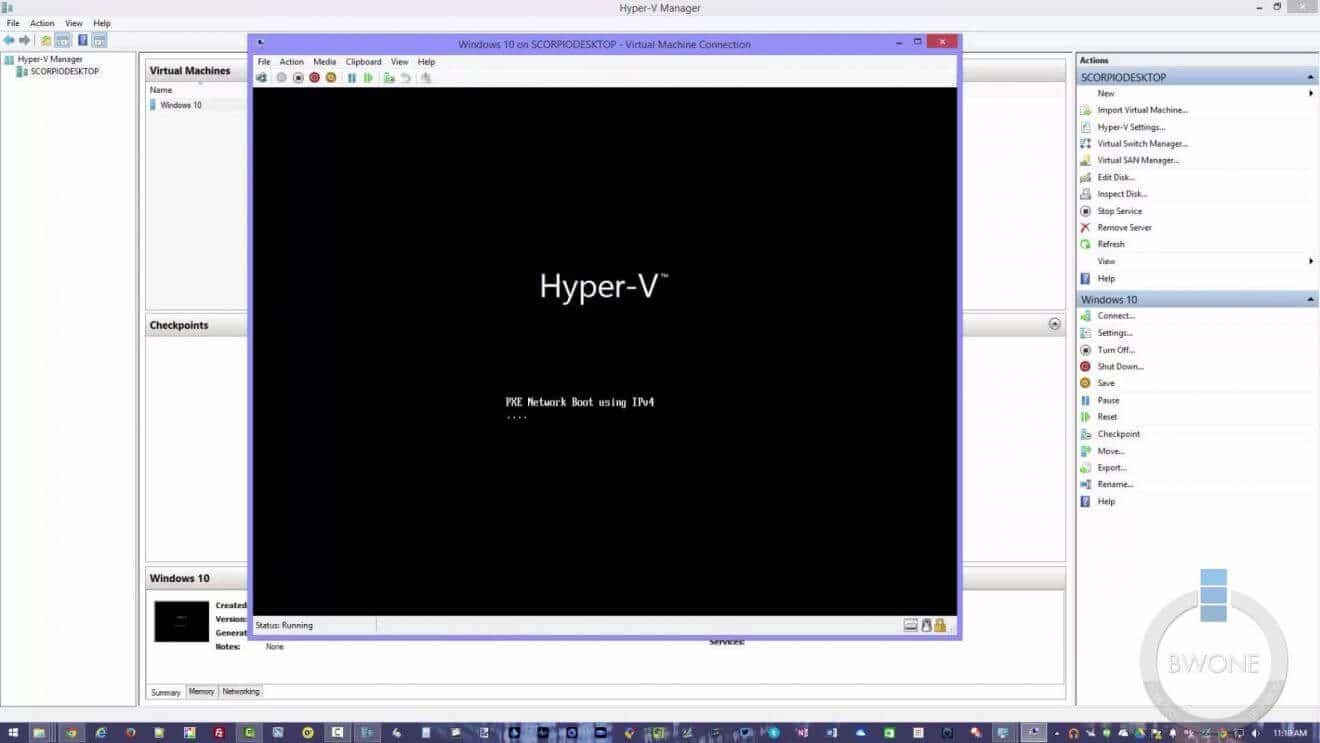
Windows Hyper-V is a great virtualization tool that Microsoft has included into Windows 8 Pro and Windows 8.1 Pro for consumers. It’s a great way to test new software without dedicating hardware to it. It’s also a great basic tool to get folks into the world of system virtualization. To begin is very simple I’ve listed the steps below.
- Make sure your processor support virtualization and you have it turned on in BIOS. Consult your system manual to check this.
- In Windows right click on the start menu and choose Programs & Features.
- Choose Turn Windows Features On Or Off
- Click the check box for Hyper-V and click Ok. You will need to reboot one the install is finished
- After the reboot go to your Start Screen and you’ll see the Hyper V Manager. Click on it to open.
From here this is where we will setup our first virtual machine which we go over in the video below!


Comments