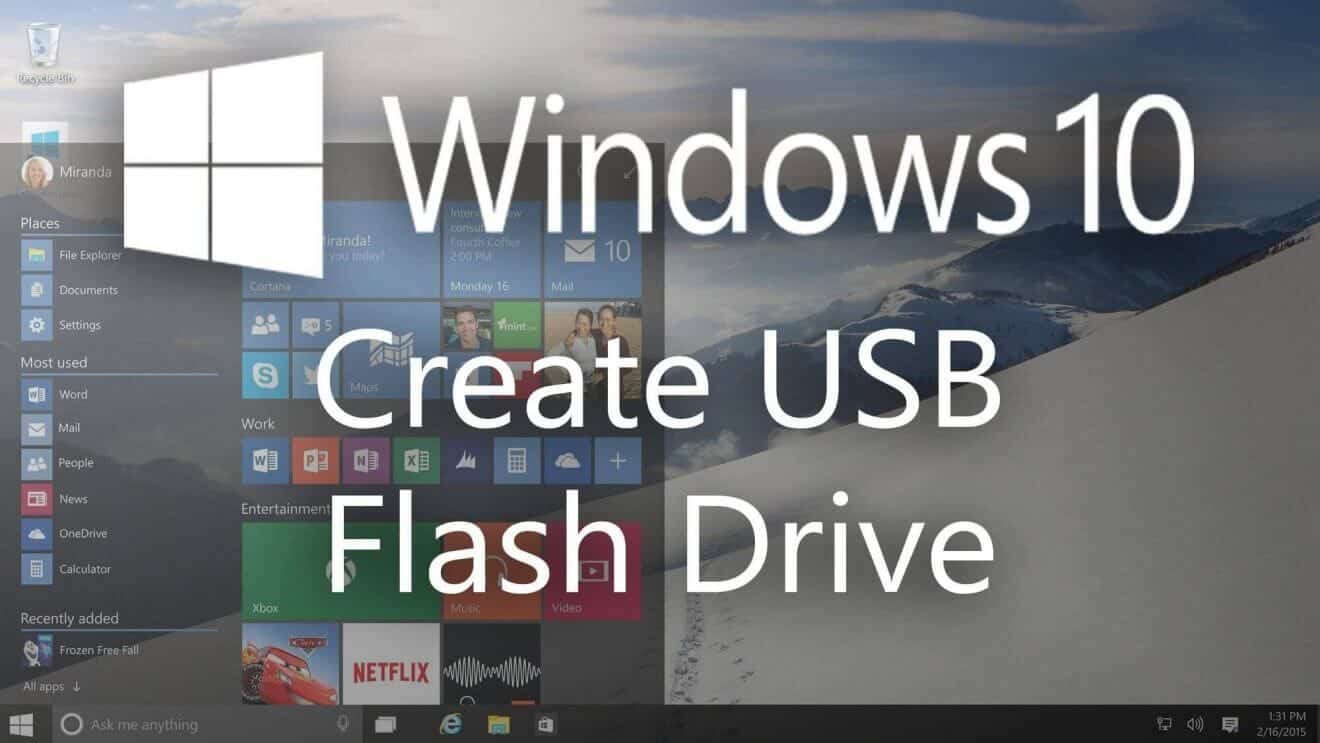
With Windows 10 available many of use are going to want to upgrade our machine right away without having to wait for it to download. The best way to do this is through USB so much like how we showed you to do this for Windows 7 and Windows 8, here is how to create a Windows 10 USB Flash drive.
Creating the tool is pretty simple although we’re going to use a different tool then we used to use before to create the USB as the USB DVD Download tool used for Windows 7 and 8 won’t work here and the one built into the media creation toolkit for Windows 10 seems to have consistency issues. We’re going to use a tool called Rufus which will create the proper USB key for us.
Creating A Windows 10 USB Flash Drive
To get started you will want to download the Windows 10 media creation toolkit and choose the option to “create installation media for another PC” from there choose the correct version of Windows 10 you are upgrading to then choose the ISO option to download the ISO to your PC. Save it it to your desktop if you can to make it easier to find. You will need at least 4GB USB flash drive and be sure to backup any data that is on it as we are going to format the drive to use for the installation media.
Next you will want to download Rufus. The app helps create bootable USB keys for various scenarios. You can choose the install or portable version as both will work here. The two key things you will need to make sure of is to make sure the partition scheme is set to “MBR Partition Scheme For UEFI” and the drive formats to “Large FAT32.” This will make sure maximum compatibility with your system as you are most likely using UEFI BIOS for your system.
From here it just choosing the ISO as the installation media and letting the app create the USB drive. This is the best method I’ve found for creating the USB drive and you can see more details on how all this is done in the video below.


